2022-05-05 更新 由于发现,typora的所见即所得的形式多少有点问题(比如缩进和空行等),所以把markdown编辑器换成了vscode,其中最需要的一个功能,是截图自动复制的功能,通过paste image 插件解决。又安装了markdown lint 插件进行语法规范。
自动上传图片的功能,就自己写脚本通过正则提取,然后替换了,还行能用。
工欲善其事,必先利其器
我现在貌似有点沉迷于造器,然后却丢失了做事的本质。希望以后能多写点吧,毕竟是自己的blog,想逼逼啥逼逼啥。也不搞啥统计,那样给自己徒增压力,写的不咋地,能找到的都是有缘人,哈哈哈哈,就这样了,应该不会再折腾了。
目前vscode配置了
插件
paste-imgage
markdownlint
disable 了一些规则
1
2
3
4
5
6
"markdownlint.config": { "Md033": false, "MD040": false, "MD045": false, "MD041": false },
snippet
1
2
3
4
5
6
7
8
9
10
11
12
13
14
15
16
{ "blog title front matter": { "scope": "markdown", "prefix": "tblog", "body": [ "---", "title: ", "tags: ", "categories: ", "date: $CURRENT_YEAR/$CURRENT_MONTH/$CURRENT_DATE", "uri: ", "---" ], "description": "blog fronter matter" } }
其他配置
1
2
"markdown.preview.breaks": true, // 渲染时将一个回车键就视为换行,github和hexo也都支持这个配置 "[markdown]": { "editor.quickSuggestions": true } // 没有这个配置markdown的snippet没法用
最后上传图片的脚本
1 2 3 4 5 6 7 8 9 10 11 12 13 14 15 16 17 18 19 20 21 22 23 24 25 26 27 28 29 30 31 32 33 34 35 36 37 38 39 40 41 42 43 44 45 46 47 48 49 50 51 52 53 54 55 56 57 58 59 60 61 62 63 64 import osimport sysimport timeimport subprocessfrom asyncio.subprocess import DEVNULLfrom PIL import Imageimport redef upload (images) : for image in images: if image.startswith("http" ): continue if os.path.isfile(image): createdate = time.localtime(os.stat(image).st_birthtime) year = createdate.tm_year month = createdate.tm_mon dstpath = f"/Users/waderwu/blog-img/{year} /{month} " if not os.path.isdir(dstpath): os.makedirs(dstpath) imgname = os.path.basename(image) webp = f"{dstpath} /{imgname} .webp" Image.open(image).convert("RGB" ).save(webp, "webp" ) def getImageOfMd (mdfile) : with open(mdfile, "r" ) as f: content = f.read() images = re.findall(r'!\[.*\]\((.*)\)' , content) for image in images: if not image.startswith("http" ): if os.path.isfile(image): createdate = time.localtime(os.stat(image).st_birthtime) year = createdate.tm_year month = createdate.tm_mon imgname = os.path.basename(image) imgurl = f"https://raw.githubusercontent.com/waderwu/blog-img/master/{year} /{month} /{imgname} .webp" content = content.replace(image, imgurl) with open(mdfile, "w" ) as f: f.write(content) return images def getUpdatedFile () : out = subprocess.check_output(["git" , "status" , "-s" ]) lines = out.decode().split("\n" )[:-1 ] files = [] for line in lines: _, filename = line.split() if filename.endswith(".md" ): files.append(filename) return files if __name__ == "__main__" : files = getUpdatedFile() for md in files: images = getImageOfMd(md) upload(images)
原文 五一期间我又折腾了一下blog,改进主要有一下几点:
修复了原blog在大屏下过宽的问题
增加了github action,做到了只需提交md文件,便可自动发布
增加了压缩图片,自动上传功能
整体下来体验,还行,利用pagespeed测试,blog.sometimenaive.com在移动端的得分是94,在桌面端的得分是100,效果还不错,也可能是因为目前文章太少。
目前的写作流程
typora打开blog文件夹,开始写作,如果只是想作为草稿,可以在Front Matter中插入published: false 这样文档就会作为草稿,不会被发布
本地写完之后,利用typora的全部上传本地文件功能,把图片转换成更小的webp后传到blog-img仓库
推送到远程blog仓库,github action会自动编译,然后发布到waderwu.github.io
定制hexo
hexo版本是3.9.0
注意这个不能在高版本的node上运行,在搞github action的时候,设置了node版本为16.x,结果生成的文件全是空文件
next主题,版本是NexT.Gemini v7.4.0
对主题进行了一些小改动包括
将首页替换成了原archive页面,去除了archive页面
修改了文件 next/source/css/_variables/Pisces.styl中的 $content-desktop-large = 85%;,更改了1200px < 屏幕尺寸 < 1600px 时的宽度为85%
还是有点小问题,不过在我自己的两个屏幕上显示的宽度还算凑合
增加了一个filter脚本用于解决md中不能出现{{的问题,在路径next/scripts/filters直接添加replace-brace.js
1 2 3 4 5 6 7 8 9 10 11 12 13 14 15 16 17 18 hexo.extend.filter.register('before_post_render' , function (data ) data.content = data.content.replace(/{{/g , "{{" ); data.content = data.content.replace(/}}/g , "}}" ); data.content = data.content.replace(/%}/g , "%}" ); data.content = data.content.replace(/{%/g , "{%" ); return data; }); hexo.extend.filter.register('after_post_render' , function (data ) data.content = data.content.replace(/{{/g , "{{" ); data.content = data.content.replace(/}}/g , "}}" ); data.content = data.content.replace(/%}/g , "%}" ); data.content = data.content.replace(/{%/g , "{%" ); return data; });
自动化发布 前几天接触了一下github action,用它自动release,感觉挺方便,然后就想要不用它自动发布blog吧,我只要更新md文件就行,传到github上之后,就会触发action,帮我自动更新部署。
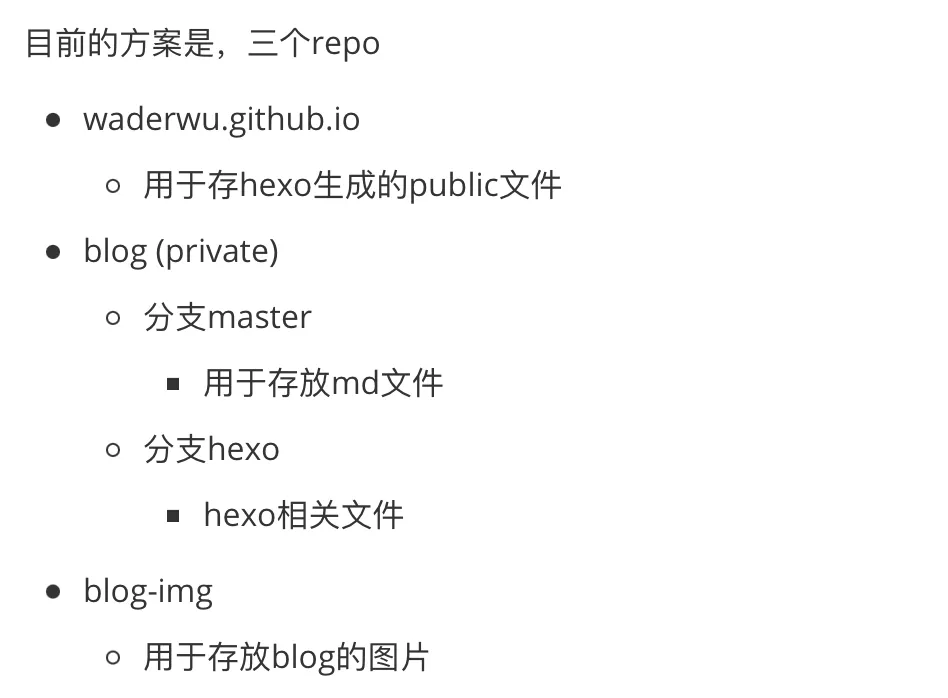
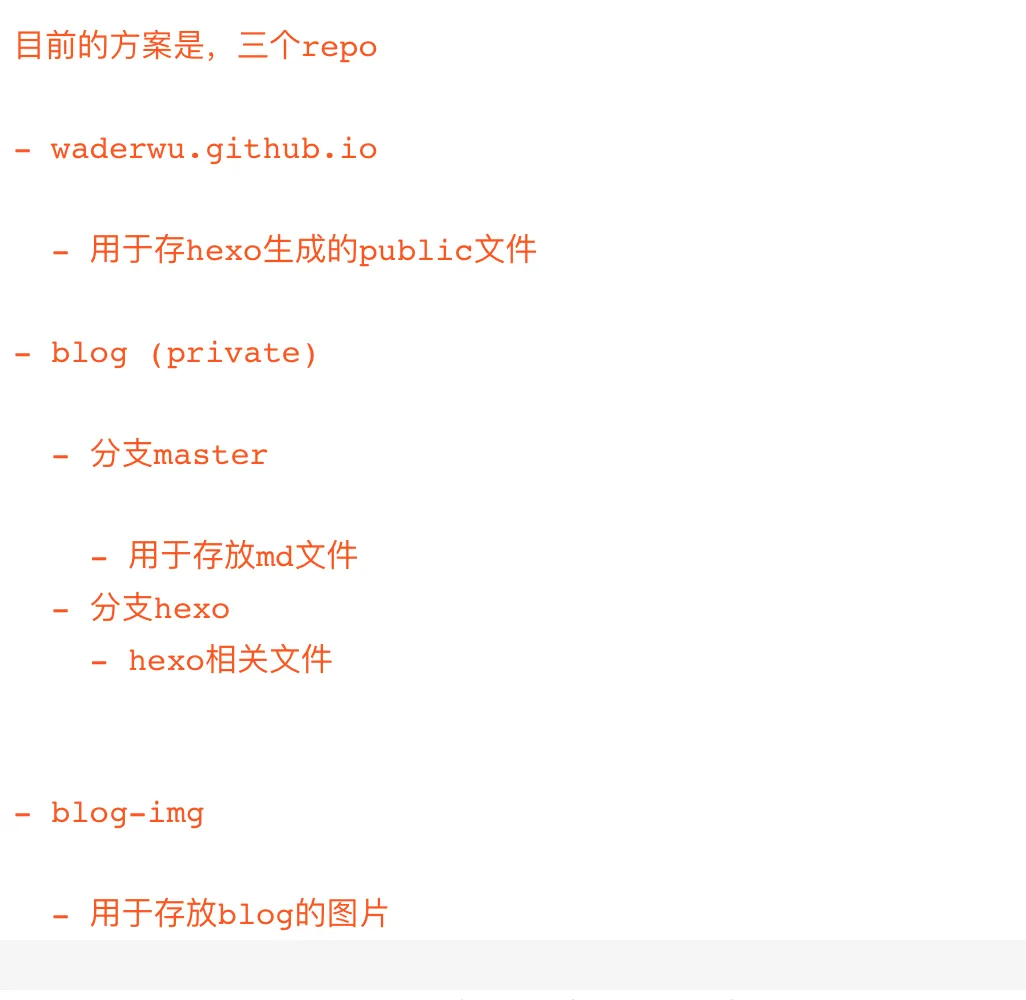
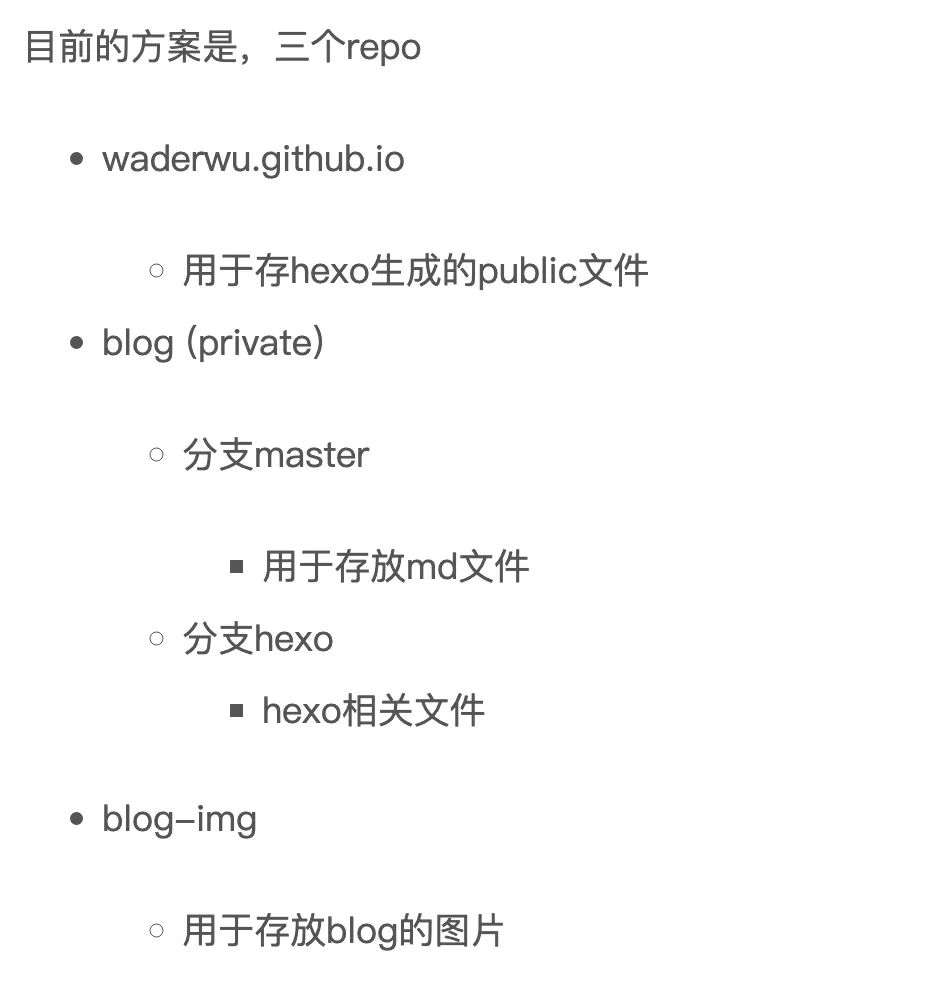
目前的方案是,三个repo
waderwu.github.io
blog (private)
blog-img
主要的思路是,当master分支有push事件时,触发publis action
clone blog master 分支到 source文件夹
clone blog hexo 分支到hexo文件夹
复制 source 文件夹到 hexo 文件夹
安装hexo
执行hexo clean,hexo g
执行hexo deploy 将public文件夹推送到waderwu.github.io
具体的publish.yml文件如下
1
2
3
4
5
6
7
8
9
10
11
12
13
14
15
16
17
18
19
20
21
22
23
24
25
26
27
28
29
30
31
32
33
34
35
name: Node.js CI on: push: branches: [ main ] jobs: build: runs-on: ubuntu-latest steps: - name: clone source uses: actions/checkout@v3 with: path: 'source' - run: ls -al - name: clone hexo source uses: actions/checkout@v3 with: ref: 'hexo' path: 'hexo' - run: ls -al - name: Use Node.js 12. x uses: actions/setup-node@v3 with: node-version: 12. x - run: | cp -r source hexo cd hexo npm install ls -al npx hexo clean npx hexo g ls -alh public sed -i "s#repowithtoken#https://oauth2:$repotoken@github.com/waderwu/waderwu.github.io#g" _config.yml npx hexo d env: repotoken: ${{secrets.REPO_GITHUB_TOKEN}}
在折腾的时候遇到了这么几个坑
node版本太高,导致生成的文件全为空
在使用hexo-deploy-git,要么是找不到username,要么是认证失败,不知道是不是因为$GITHUB_TOKEN 和PAT的区别
重新自己生成一个personal access token,填入到secrets中,然后_config.yml中的repo填成oauth2:token@github.com/user/repo这种形式
上传图片 Typora支持自定义上传图片,参考链接
原本的处理方式,在blog-img图片生成webp,然后再命令行调用git,push到仓库,用的时候感觉有点慢
1 2 3 4 5 6 7 8 9 10 11 12 13 14 15 16 17 18 19 20 21 22 23 24 25 26 27 28 29 30 31 32 33 import osimport sysimport timeimport subprocessfrom asyncio.subprocess import DEVNULLfrom PIL import Imagedef upload (images) : if len(images) < 1 : sys.exit() for image in images: createdate = time.localtime(os.stat(image).st_birthtime) year = createdate.tm_year month = createdate.tm_mon dstpath = f"/Users/waderwu/blog-img/{year} /{month} " if not os.path.isdir(dstpath): os.makedirs(dstpath) if os.path.isfile(image): imgname = os.path.basename(image) webp = f"{dstpath} /{imgname} .webp" Image.open(image).convert("RGB" ).save(webp, "webp" ) imgurl = f"https://raw.githubusercontent.com/waderwu/blog-img/master/{year} /{month} /{imgname} .webp" print(imgurl) subprocess.check_output(["bash" , "-c" , f"cd /Users/waderwu/blog-img/; git pull ; git add . ; git commit -m 'add {imgname} .webp' ; git push" ], stderr=DEVNULL) if __name__ == "__main__" : images = sys.argv[1 :] upload(images)
然后又尝试了通过github api的方式上传,但是一次只能单独上传一个文件,可能还不如通过git push的方式快,尝试了多线程但是会导致返回conflict。
1
2
3
4
5
6
7
8
9
10
11
12
13
14
15
16
17
18
19
20
21
22
23
24
25
26
27
28
29
30
31
32
33
34
35
36
37
38
39
40
41
42
43
44
45
46
47
48
49
import requestsimport base64import sysimport osimport timefrom PIL import Imagefrom io import BytesIOfrom threading import Threaddef upload (name, content) : token = "ghp_yourtoken" url = f"https://api.github.com/repos/waderwu/blog-img/contents/{name} " headers = { "Authorization" : f"Bearer {token} " , } body = { "message" : "test upload file" , "content" : content } proxies={ "https" : "socks5://127.0.0.1:1080" } r = requests.put(url, headers=headers, json=body, proxies=proxies) def run (images) : if len(images) < 1 : sys.exit() for image in images: createdate = time.localtime(os.stat(image).st_birthtime) year = createdate.tm_year month = createdate.tm_mon if os.path.isfile(image): imgname = os.path.basename(image) imgurl = f"https://raw.githubusercontent.com/waderwu/blog-img/master/{year} /{month} /{imgname} .webp" print(imgurl) webp = BytesIO() Image.open(image).convert("RGB" ).save(webp, "webp" ) content = base64.b64encode(webp.getvalue()).decode() name = f"{year} /{month} /{imgname} .webp" upload(name, content) if __name__ == "__main__" : images = sys.argv[1 :] run(images)
用两张图片测试一下试试
如果文件多,可能还是第一种方式快,那还是第一种方式吧。
本来还想整自动格式化markdown,但是感觉没太大要,使用好typora即可。
在用Typora的时候发现个小问题,关于换行的问题。
这样看着好像没有问题,但是从源码看到
中间有好多空行,导致在blog渲染的过程中,就会多出来一些空行
看看怎么解决这个问题,Typora有个专门的说明,line-break ,好像也没啥好的解决方法换成vscode。
大概就是说Typora可见即可得的模式下,敲下一个回车,其实是相当于敲俩回车,根据经验看,我出问题一般是在list时会多出一些空行来,原本是利用回车来确定前移list的,可能用shift+tab更好,先就这样吧,写完之后认为的检查一下。